Key Steps to Migrate Your Website to a New Web Hosting Provider

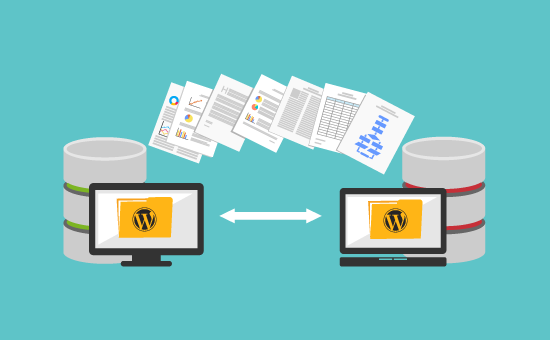
When it comes to ensuring optimal website performance, choosing the right web hosting provider is crucial. In today’s digital landscape, where website performance plays a vital role in attracting and retaining visitors, selecting the right web hosting provider holds almost all the cards. Whether you are seeking to enhance your website’s capabilities or considering a switch from your current web hosting services, migrating your website to a new provider demands meticulous planning and flawless execution. To assist you in this critical process, we have crafted a comprehensive step-by-step guide that will navigate you through the intricacies of migrating your website to a new web hosting provider, ensuring a seamless transition and maintaining a strong online presence. In this article, we will delve into the essential considerations and practical strategies, empowering you to make informed decisions and confidently undertake the migration journey.
Table of Contents
Evaluate Your Current Website and Hosting:
Before initiating the migration process, it is essential to evaluate your current website and web hosting services. Assess the size of your website, the content it hosts, any databases you have, and custom configurations that might be in place. Simultaneously, analyze your existing web hosting provider’s features, performance, and support. Understanding your current setup will help you select a new web hosting provider that best matches your requirements.
Select a New Web Hosting Provider:
The second step is to research and compare various web hosting providers to find the one that suits your requirements. Consider factors such as server performance, reliability, scalability, customer support, and pricing plans. Look for a provider that offers easy migration tools or assistance to simplify the process. It’s also advisable to check customer reviews and ratings to gauge the overall satisfaction of existing users.
Back up Your Website:
Before initiating the migration, it is crucial to back up all your website files, databases, and configurations. Create a complete backup of your website using a reliable backup plugin or your hosting provider’s backup feature. Doing so will ensure that you have a duplicate copy of your website in case anything goes wrong during this process.
Set Up the New Hosting Environment:
Once you have chosen your new hosting provider, sign up for an account and set up your hosting environment. This involves creating a new account, registering a domain (if necessary), and configuring your server settings. Most hosting providers offer a user-friendly control panel, allowing you to manage your website easily.
Migrate Your Website:
There are several methods to migrate your website, depending on its complexity and size. For smaller websites, you can manually transfer files via FTP or use the hosting provider’s migration tool, if available. For larger websites or complex setups, it is advisable to seek assistance from your new hosting provider’s support team. They can guide you through the migration process or even handle it entirely on your behalf.
Test and Update DNS:
After migrating your website, it is crucial to test its functionality and ensure everything works as expected. This involves checking website links, forms, databases, and any interactive elements. By thoroughly testing your website, you can identify and fix any issues before your visitors do. Once you are satisfied with the testing, update your DNS (Domain Name System) records to point to the new hosting provider. This allows users to access your website from the new server.
Migrating your website to a new web hosting provider may seem like a complex task, but with careful planning and execution, it can be a smooth transition. By evaluating your current website, selecting a suitable hosting provider, backing up your files, setting up the new hosting environment, and executing the migration process properly, you can ensure minimal disruption and downtime. Remember to test your website thoroughly and update the DNS records to complete the migration successfully. With these steps, you’ll be well on your way to a new and improved hosting experience.


